What do I do with the included metatarsal domes?
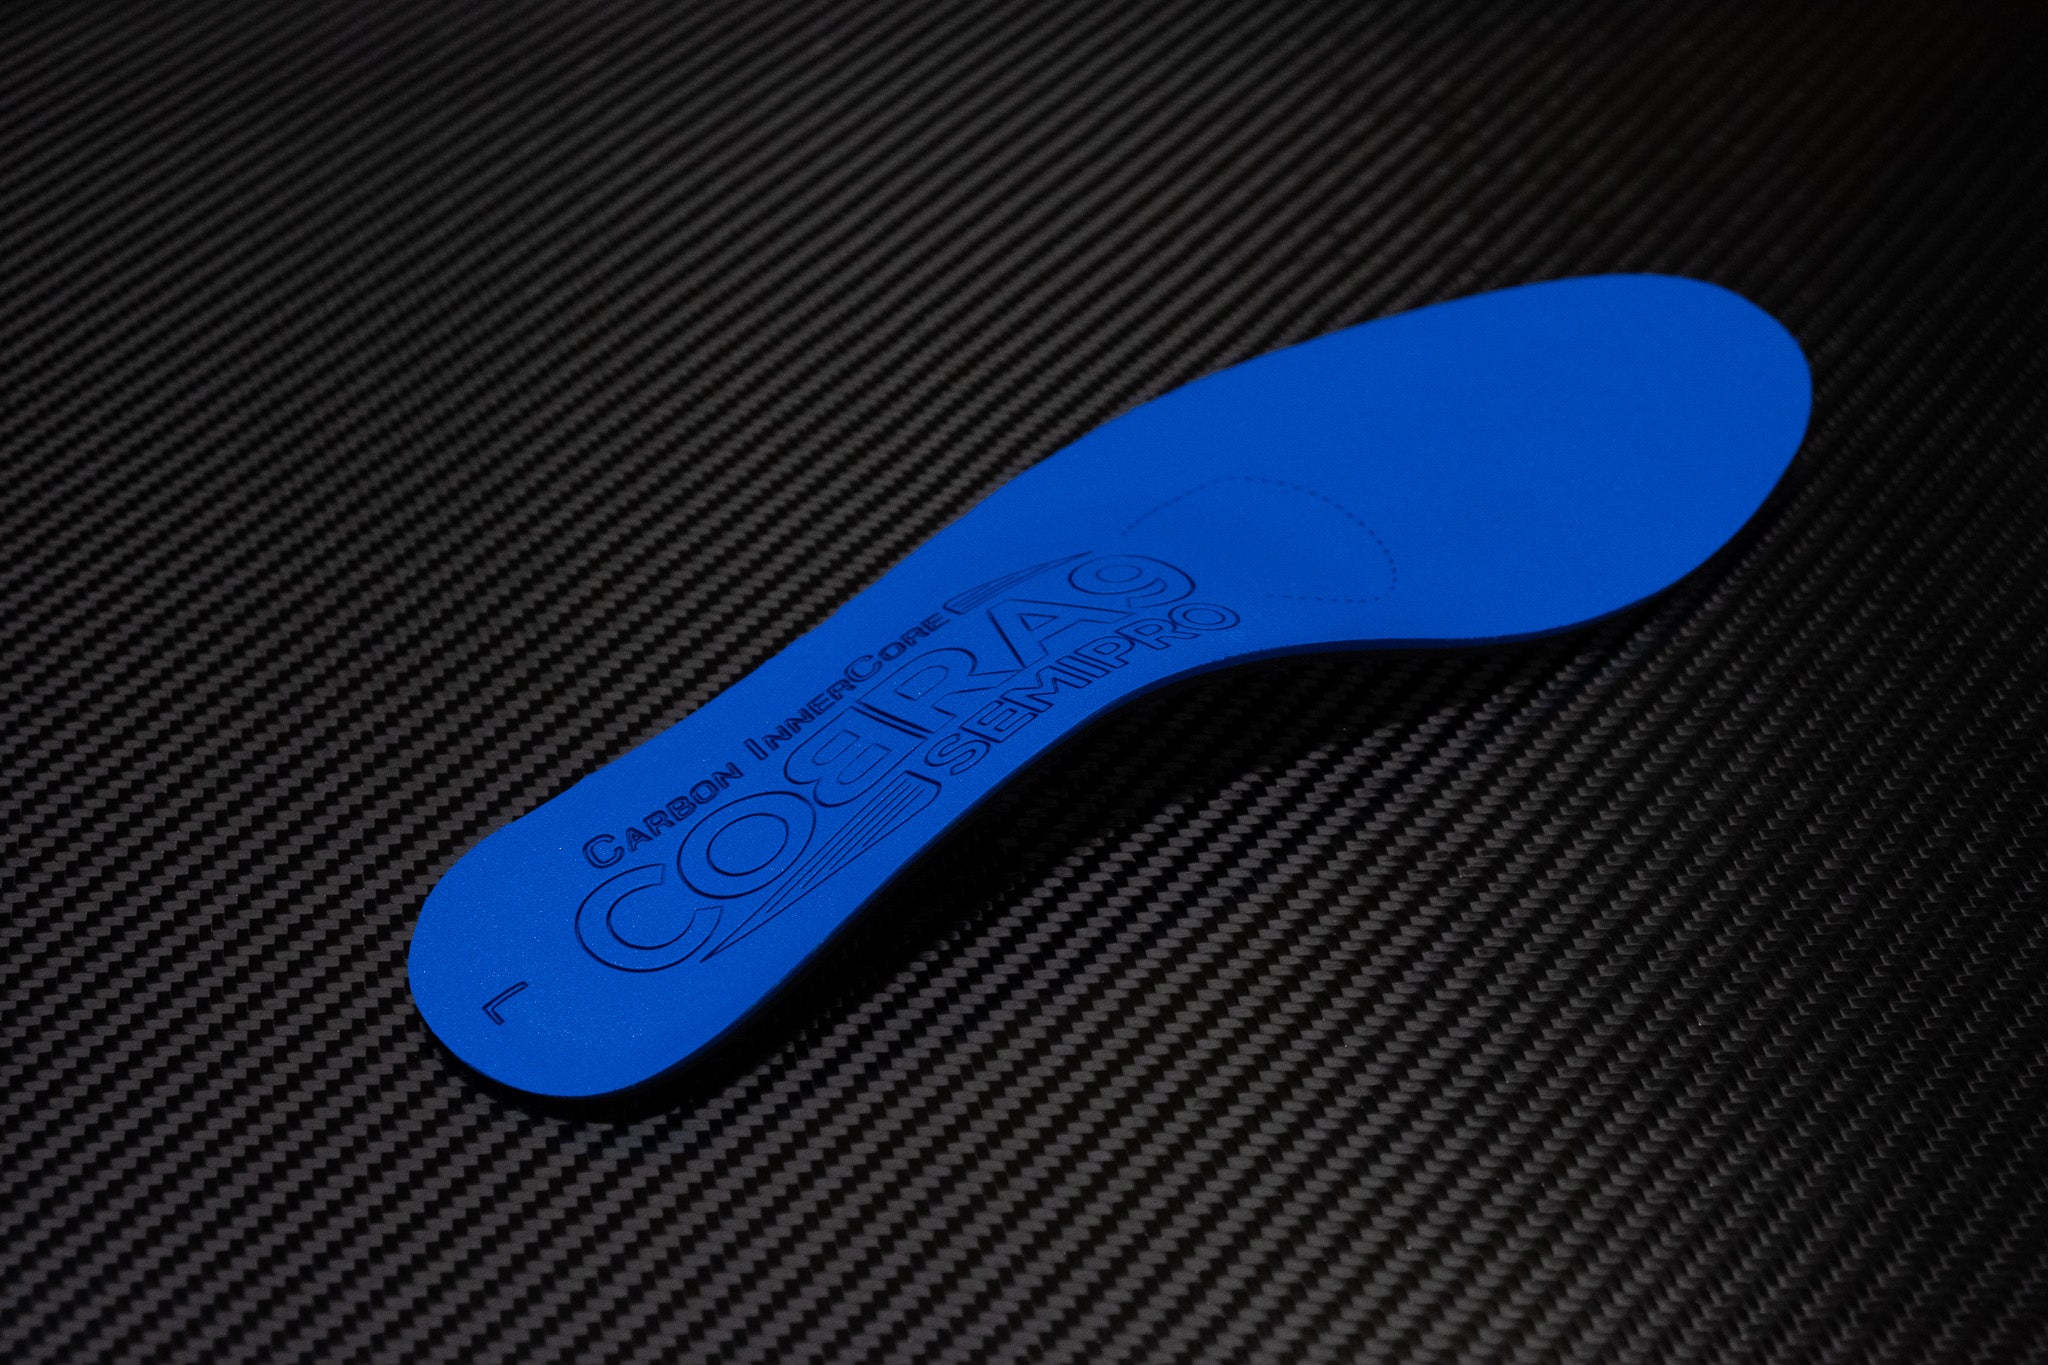
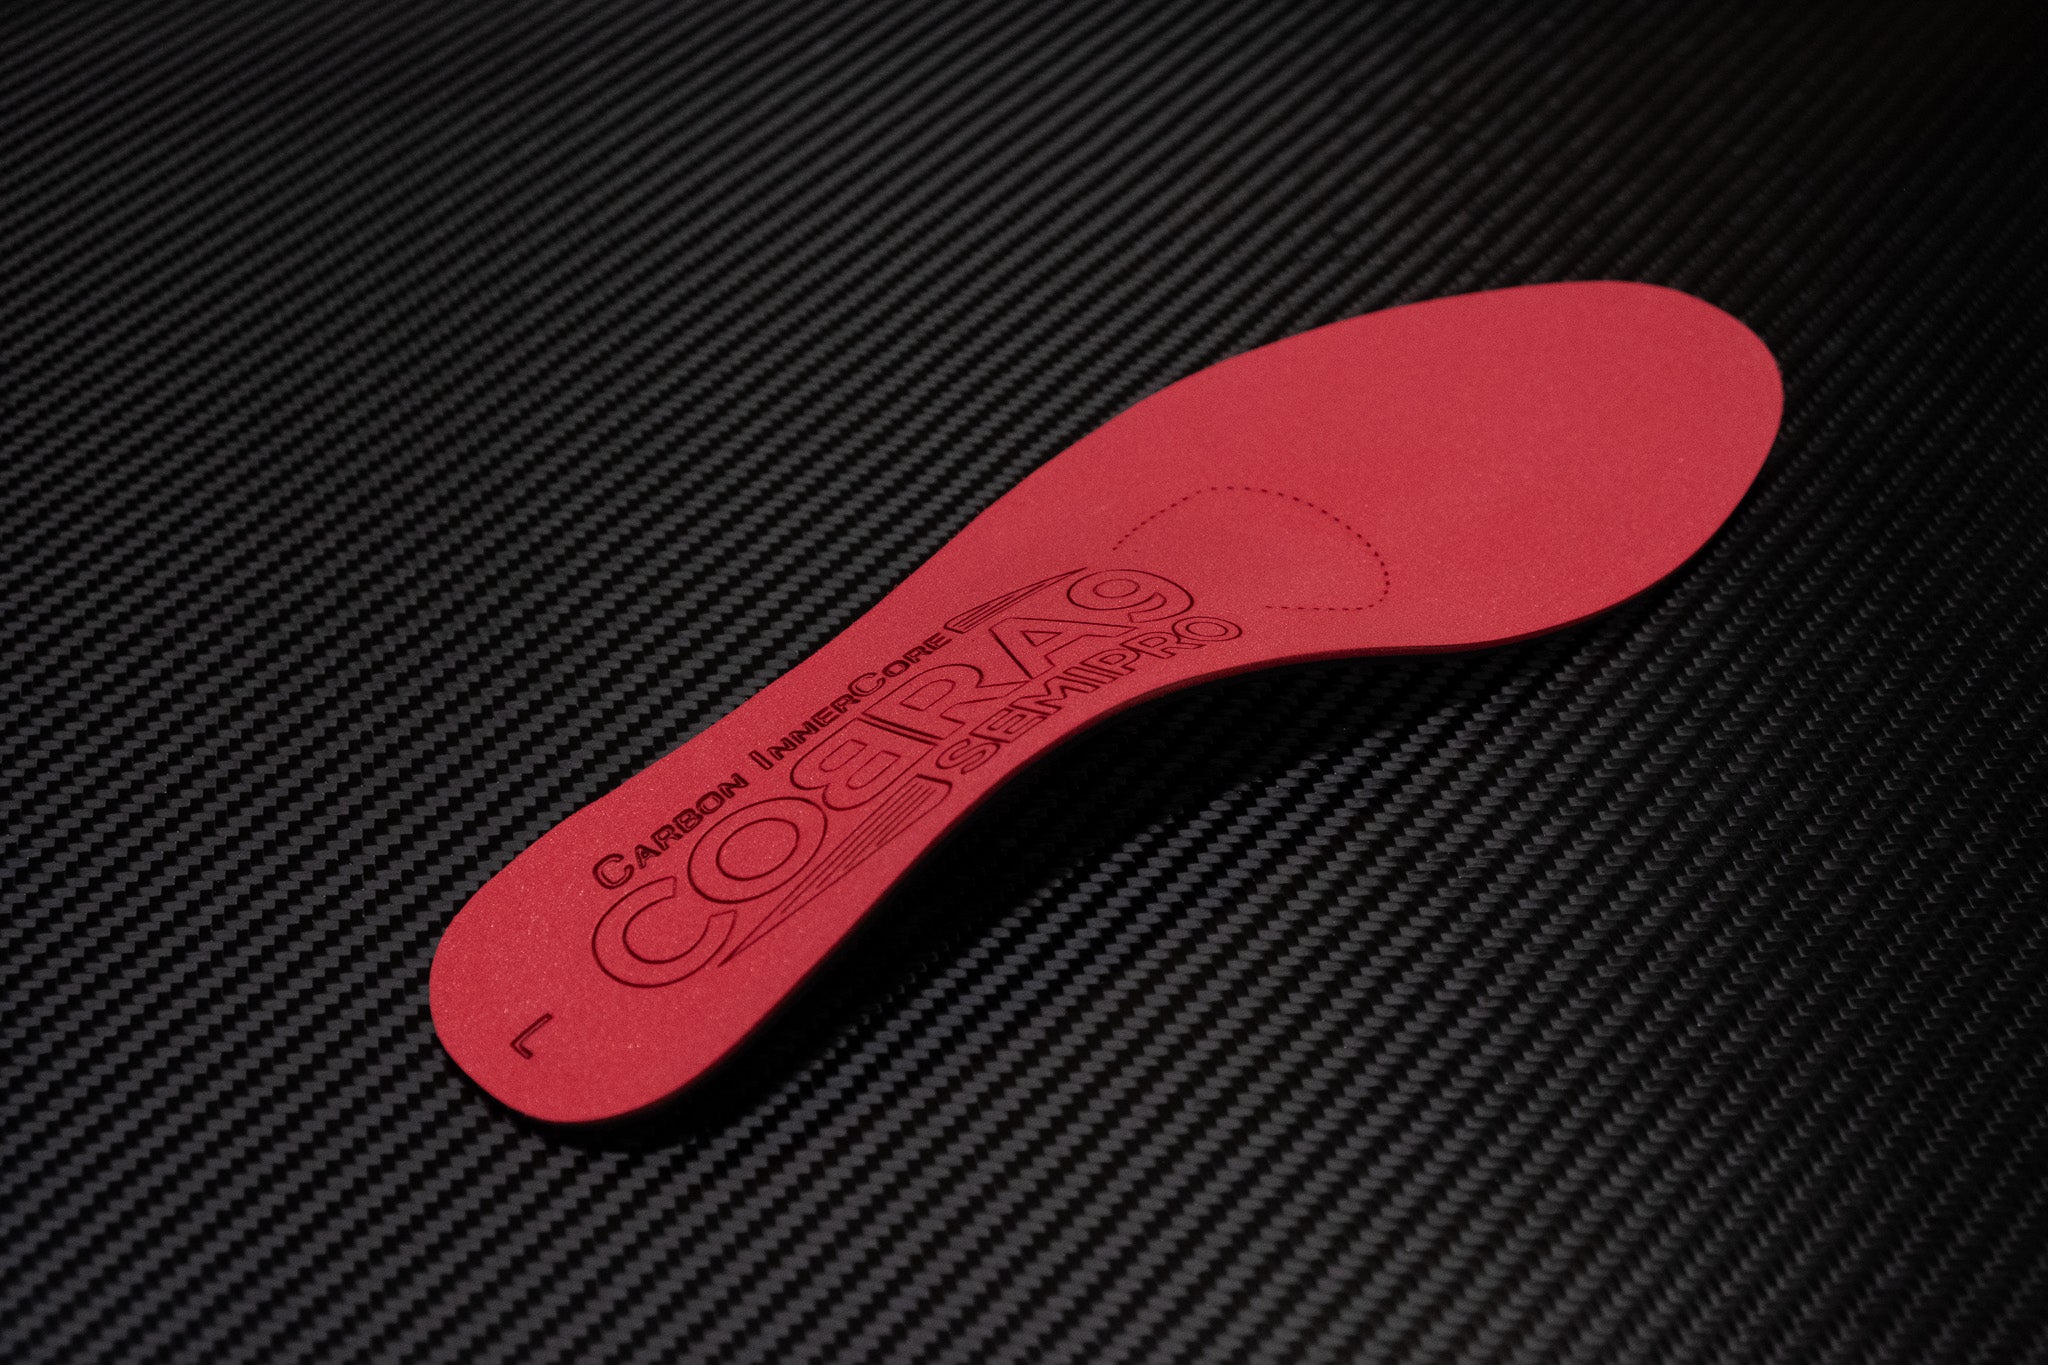
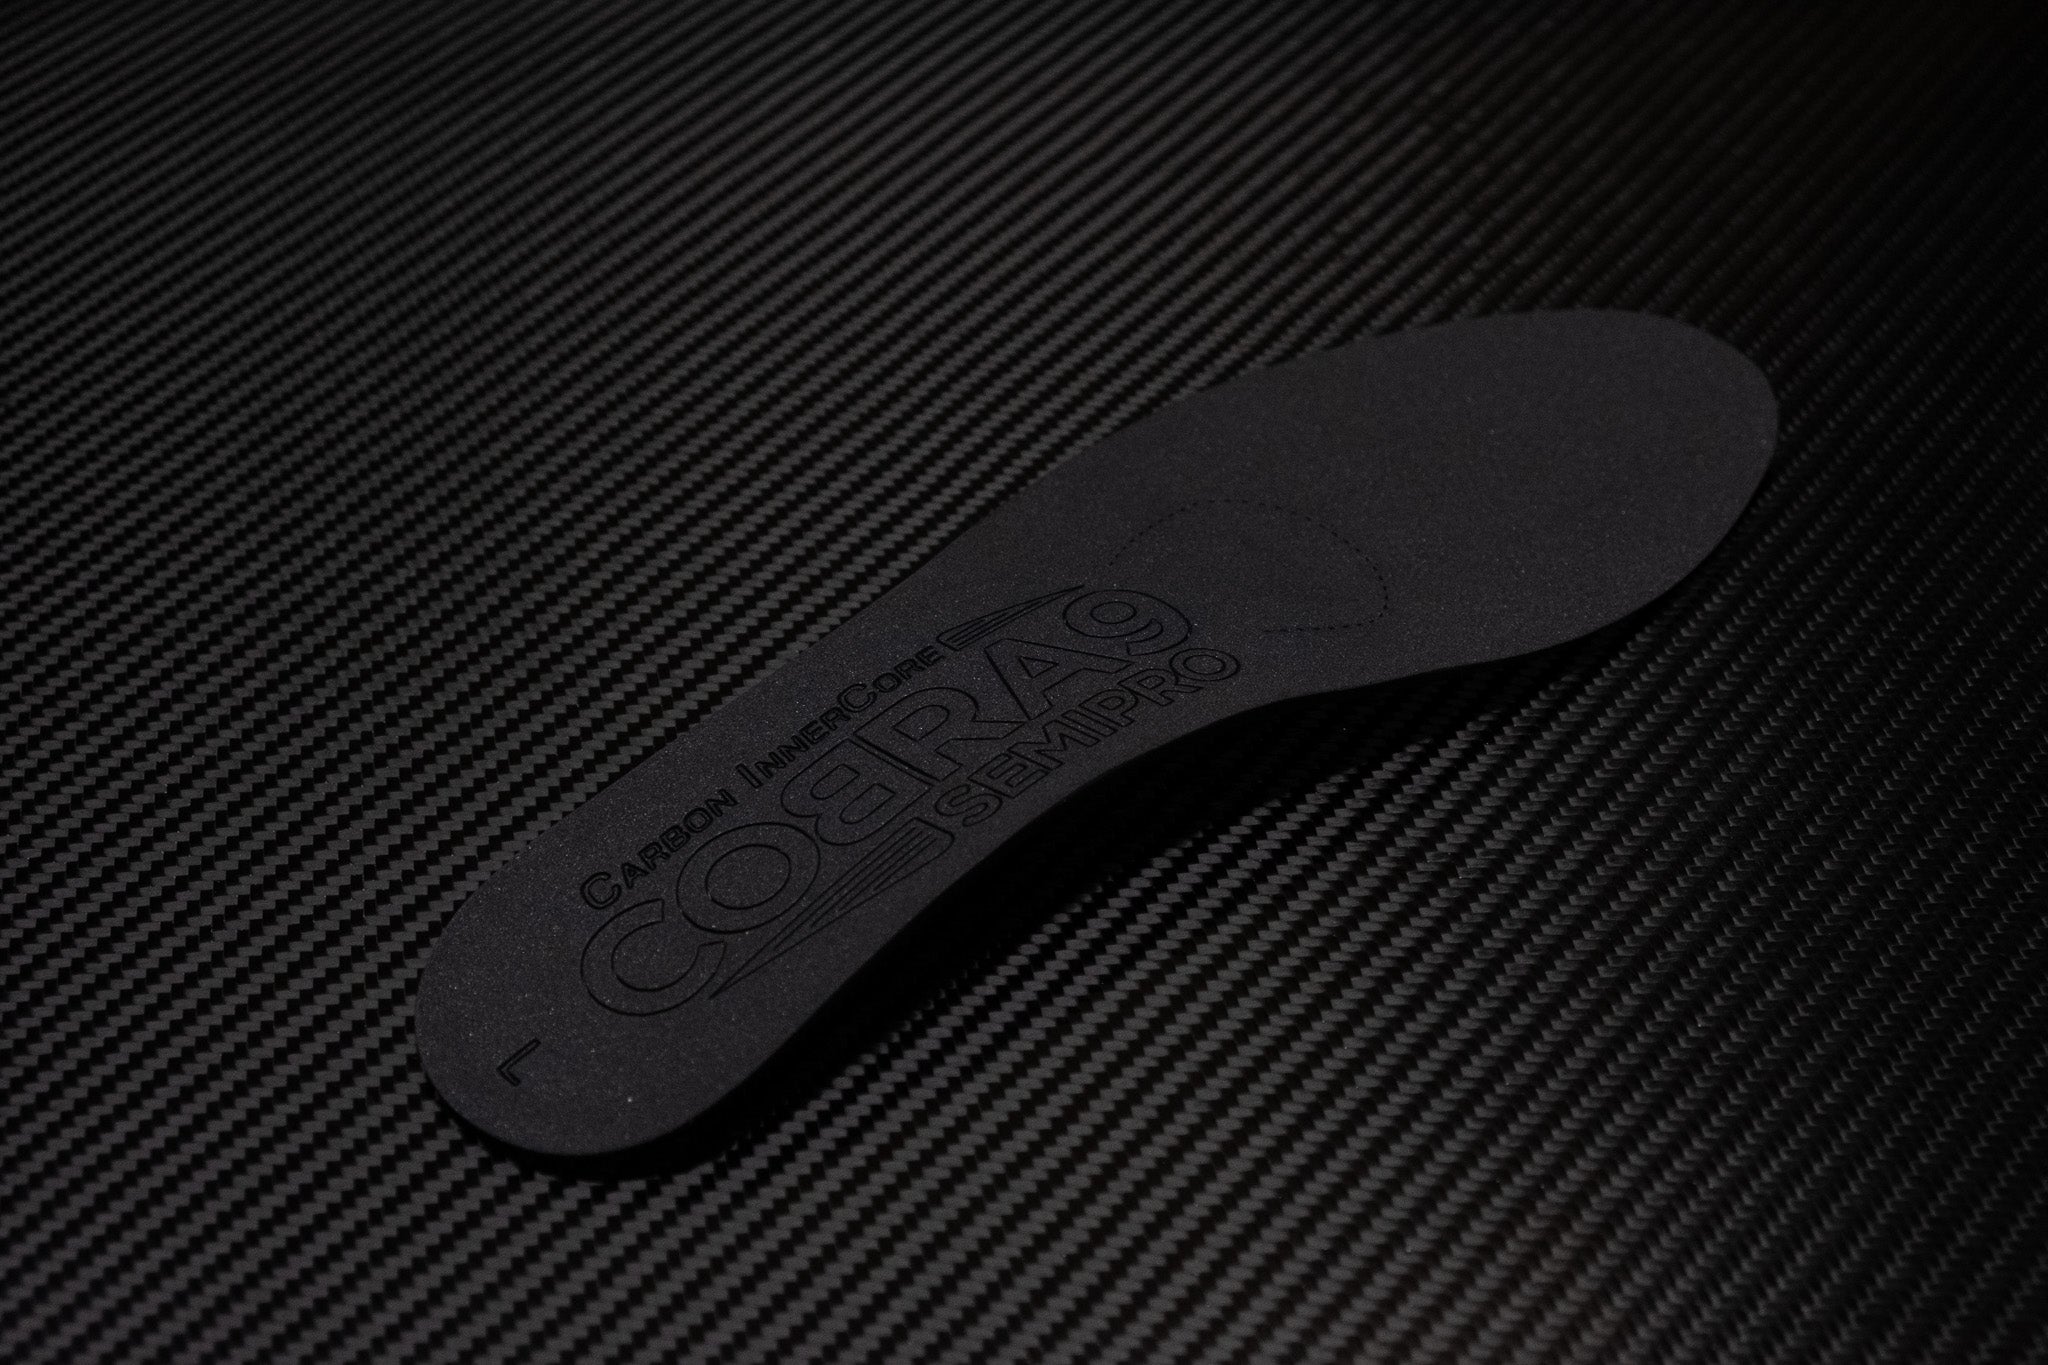
So you've received your fresh SemiPros and discovered they came with a little bag containing a pair of black lumps. These are actually a pair of adhesive backed metatarsal domes.
These are by no means mandatory to use or designed for all riders to use. In fact, we recommend wearing your SemiPros as they come in your shoes for a week or two before thinking about experimenting with these domes.
In some cyclists, they can help with symptoms related to burning or numbness sensations however, they are not a magic bullet in these situations either. If you want to know more about how they work we have a few posts in our Learning Hub if you want to have a read.
If you have some forefoot issues while riding and wish to trial the domes we recommend by initially peeling back a small area of the adhesive backing and temporarily sticking them where the dashed line guide is on your orthotic. Every person's foot is different so this position will vary between individuals even with the same sized foot and can vary between your left and right foot. The 'correct' position should feel as though it is sitting behind the prominent bony part of your foot but not as far back as being in the centre of your arch.
After finding an ideal position and trialling for a few rides, if you're finding it comfortable, trace around this position before peeling it off. Now you have a guide for exactly where to place it once you finish peeling off the remainder of the yellow sheet covering the adhesive.
Happy riding!
We are huge fans of our SemiPros and want you to be too.
Find Your Fit
As podiatrists, we are no strangers to the intricacies of foot form and function. That's why we developed a range of unique profiles for our much-loved SemiPros. Rather than arbitrary changes in height across our Low, Medium and High inner soles, each profile has a unique contoured shape to suit key features of the foot type for which they are designed.
This three-step guide is designed to help you select your perfect profile.
Step 1: Arch Profile Observation
Begin by observing the static, non-weight bearing shape of your feet:
Observe the medial aspect of your foot (from your heel to big toe) while seated with your ankle in a neutral position and your feet flat on the floor. Because this is a non-weight bearing observation, this should be carried out with minimal and equal weight distribution.
Step 2: Mobility Evaluation
Second, evaluate the degree of mobility present in your midfoot to determine how your feet change shape when they are loaded.
Perform a series of calf raises, comparing how pronounced your medial arch shape is at the beginning and end of each raise. Typically, a more mobile foot will display a pronounced shape at the end of the calf raise movement. Less mobile feet will see little shape change.
Step 3: Size, Width and Volume Selection


Low, Medium or High?
Suitable for those who have a low arch profile and stiffer, less mobile feet.
Shop LowLow, Medium or High?
Suitable for those who have low to moderate arch profiles but possess natural foot mobility and shape change under load.
Shop MediumLow, Medium or High?
Suitable for those who have moderate to high arch profiles with low to moderate mobility.
SemiPro High


